
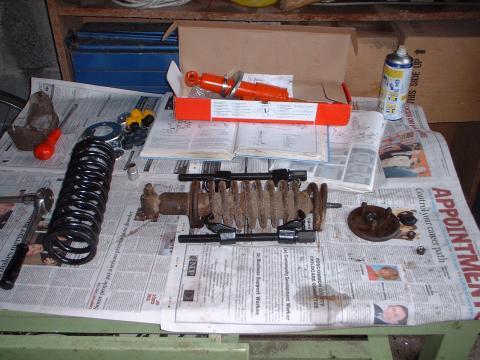
Taking apart the old shock absorbers
First thing to do was to fit the new dampers into the roadsprings. As you can see in te pictures, the damper is fitted through the middle of the coil spring and has a cap on each end that keeps the spring compressed. A coil spring compressor is needed to remove the damper because of the high compression the spring is under. All I needed from the old assemblies was the upper seats. Everything else was included with the new shocks.
The second picture shows the spring compression tool in action. The upper seat had been removed at that stage. As per usual, muck, rust and paint was removed with the trusty old black and decker and the seats were repainted black. I also painted the metal lower seats that came with the new shocks (see silver plate on the new shock absorber in the box in the second picture).
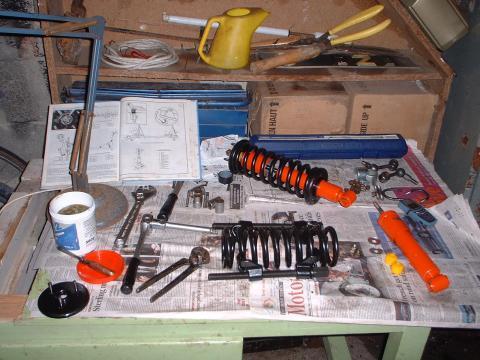
Assembling the new shocks absorbers
After the paint was left to dry overnight, I went about putting together the new shocks. They're adjustable dampers, but I'm assuming that they've already been adjusted before shipping. Anyway, it wont be too hard to adjust them once they're fitted. The picture on the left shows one of the shocks assembled and the second roadspring compressed. With the roadspring compressed, the damper can be fitted and the seats secured with ease. I'm using the pot of grease on the left to protect bolts, washers etc from rust.
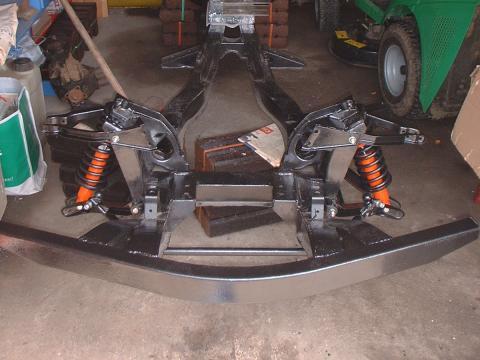
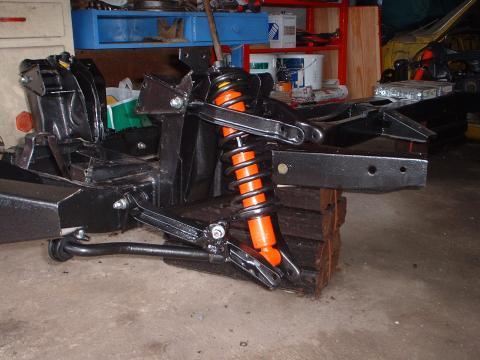
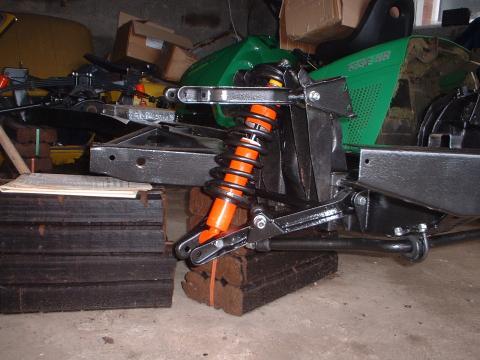
Fitting the new shocks absorbers
Fitting the new shocks was a bitch. Well it wasn't too tedious but it was certainly harder than I was expecting. The upper mounting was straightforward. Although I'm a bit concearned about one of the nuts on the left hand side (the side that goes through all the potholes!) which seems to have shrewed. Probably because the bolt was a little bent to begin with. It's one of three bolts and they're locking nuts so hopefully it will be ok! :o)
The springs are expanded more than normal since they're not under the the normal weight of the car/engine etc. The difficult part was getting the lower mounting in line with the hole in the lower wishbone. I ended up having to use the spring compression tool again to compress the coils and then use a bit of brut force before I could get the bolt in. All is looking mighty fine now!